


HOODIE | JEANS | SNEAKERS | BLUE LIGHT GLASSES
Welcome to the second post of my new informative series, Blogging 101. In case you missed my first post, ‘The Importance of Branding’ you can check that out here! Today I’m excited to dive deep into one of my favorite topics, which is how I edit my photos and make my Instagram feed look cohesive. When I first started blogging I remember admiring others feeds and wondering how they made everything look so consistent and pretty. I can’t even begin to tell you how many bloggers I messaged trying to pick their brains and figure out their editing secrets. I became extremely frustrated as I had little to no luck because everyone seemed so secretive. Personally, I feel like there is room for everyone in this blogging world and that we should all help and support one another. That’s why I’m here today, an open book that is ready to spill all of my secrets, including my entire photo taking and editing process. My hope is that I’ll be able to help the girl who may feel as lost as I did in the beginning of my blogging career. I want you guys to feel like you can come to me for anything & I want to be a #1 resource for YOU! If I missed anything or if you have any questions at all, please feel free to message me or comment on this post. With that, let’s get started!

TOOLS I USE
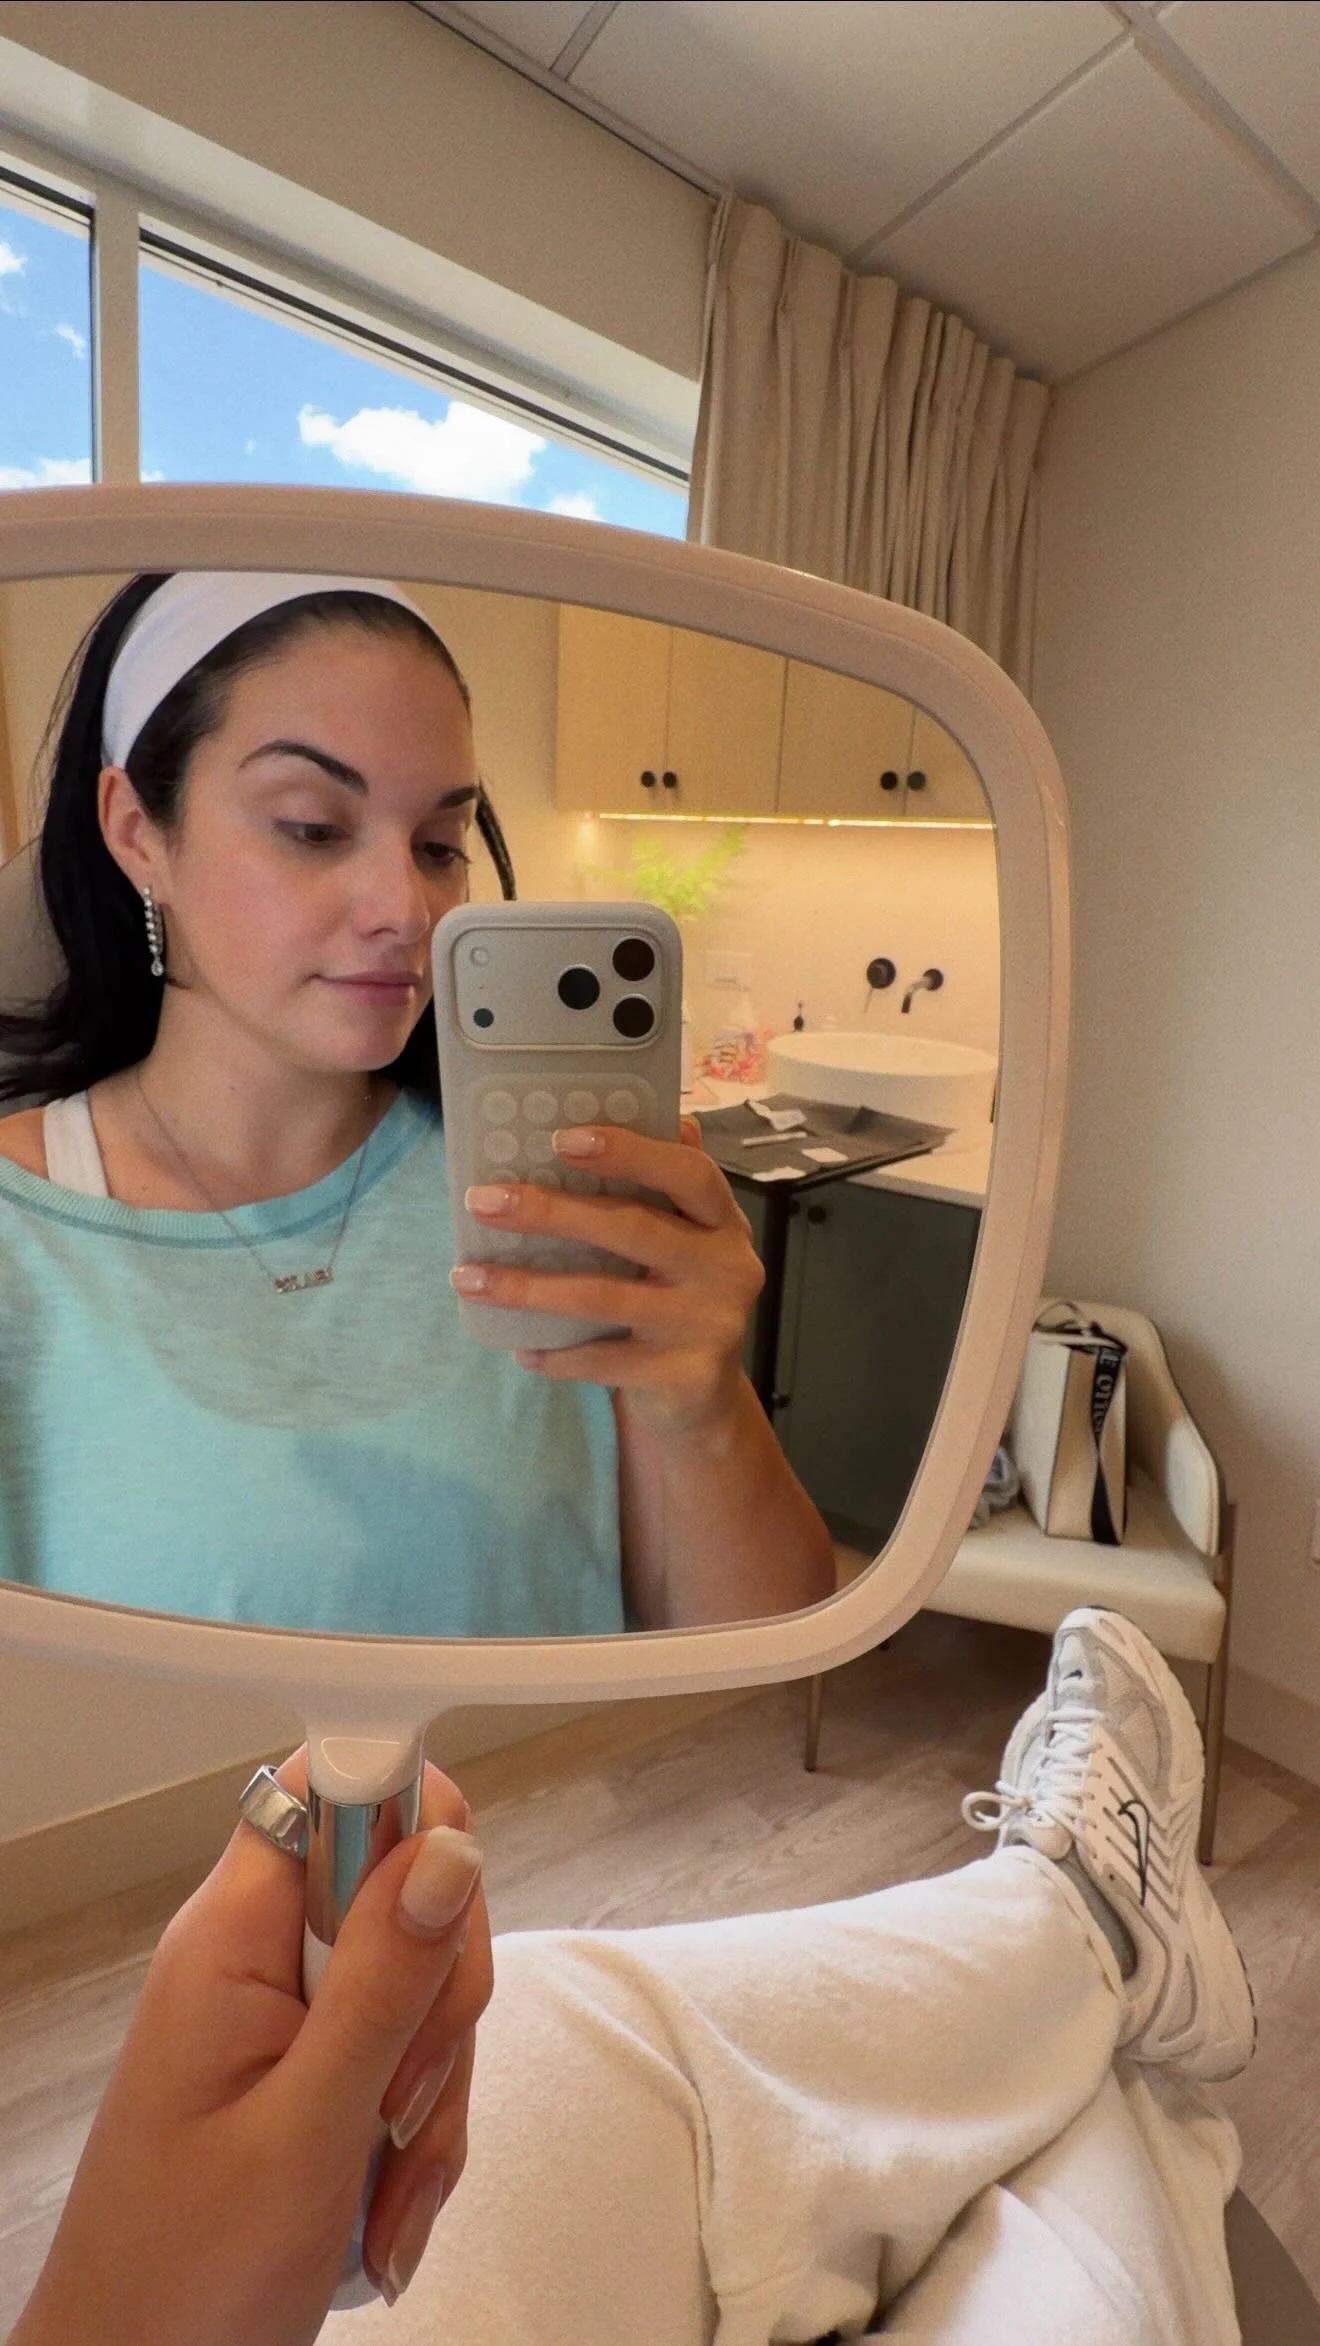
iPhone XS Max: I use my iPhone for a lot of my Instagram photos. The camera on this phone is absolutely insane and is pretty comparable to a professional camera. The filters I apply to the photos makes a crazy difference in the final product. (TIP: I always wipe off my camera lens with my shirt or a cloth so that the picture clarity is 100% and has no smudges. My friends always make fun of me for this but it really does make a difference I swear.)
Canon Rebel or 5D Mark IV: I personally use the Canon Rebel Camera base because I’ve had it since high school, but I’ll soon be upgrading to the 5D Mark IV body. I will say that the lens you use is really what makes the difference in the photo quality, not the camera body. My favorite lens for portraits (creates a blurred background) is the Canon EF 50mm f/1.2 lens and my favorite wide-angle lens for lifestyle shots would probably be the Canon EF-S 10-18mm f/4.5-5.6 IS STM Lens. I suggest taking a class on how to use your camera or watching lots of youtube videos, because the many settings can be super overwhelming and confusing at first.
LIGHTING IS KEY
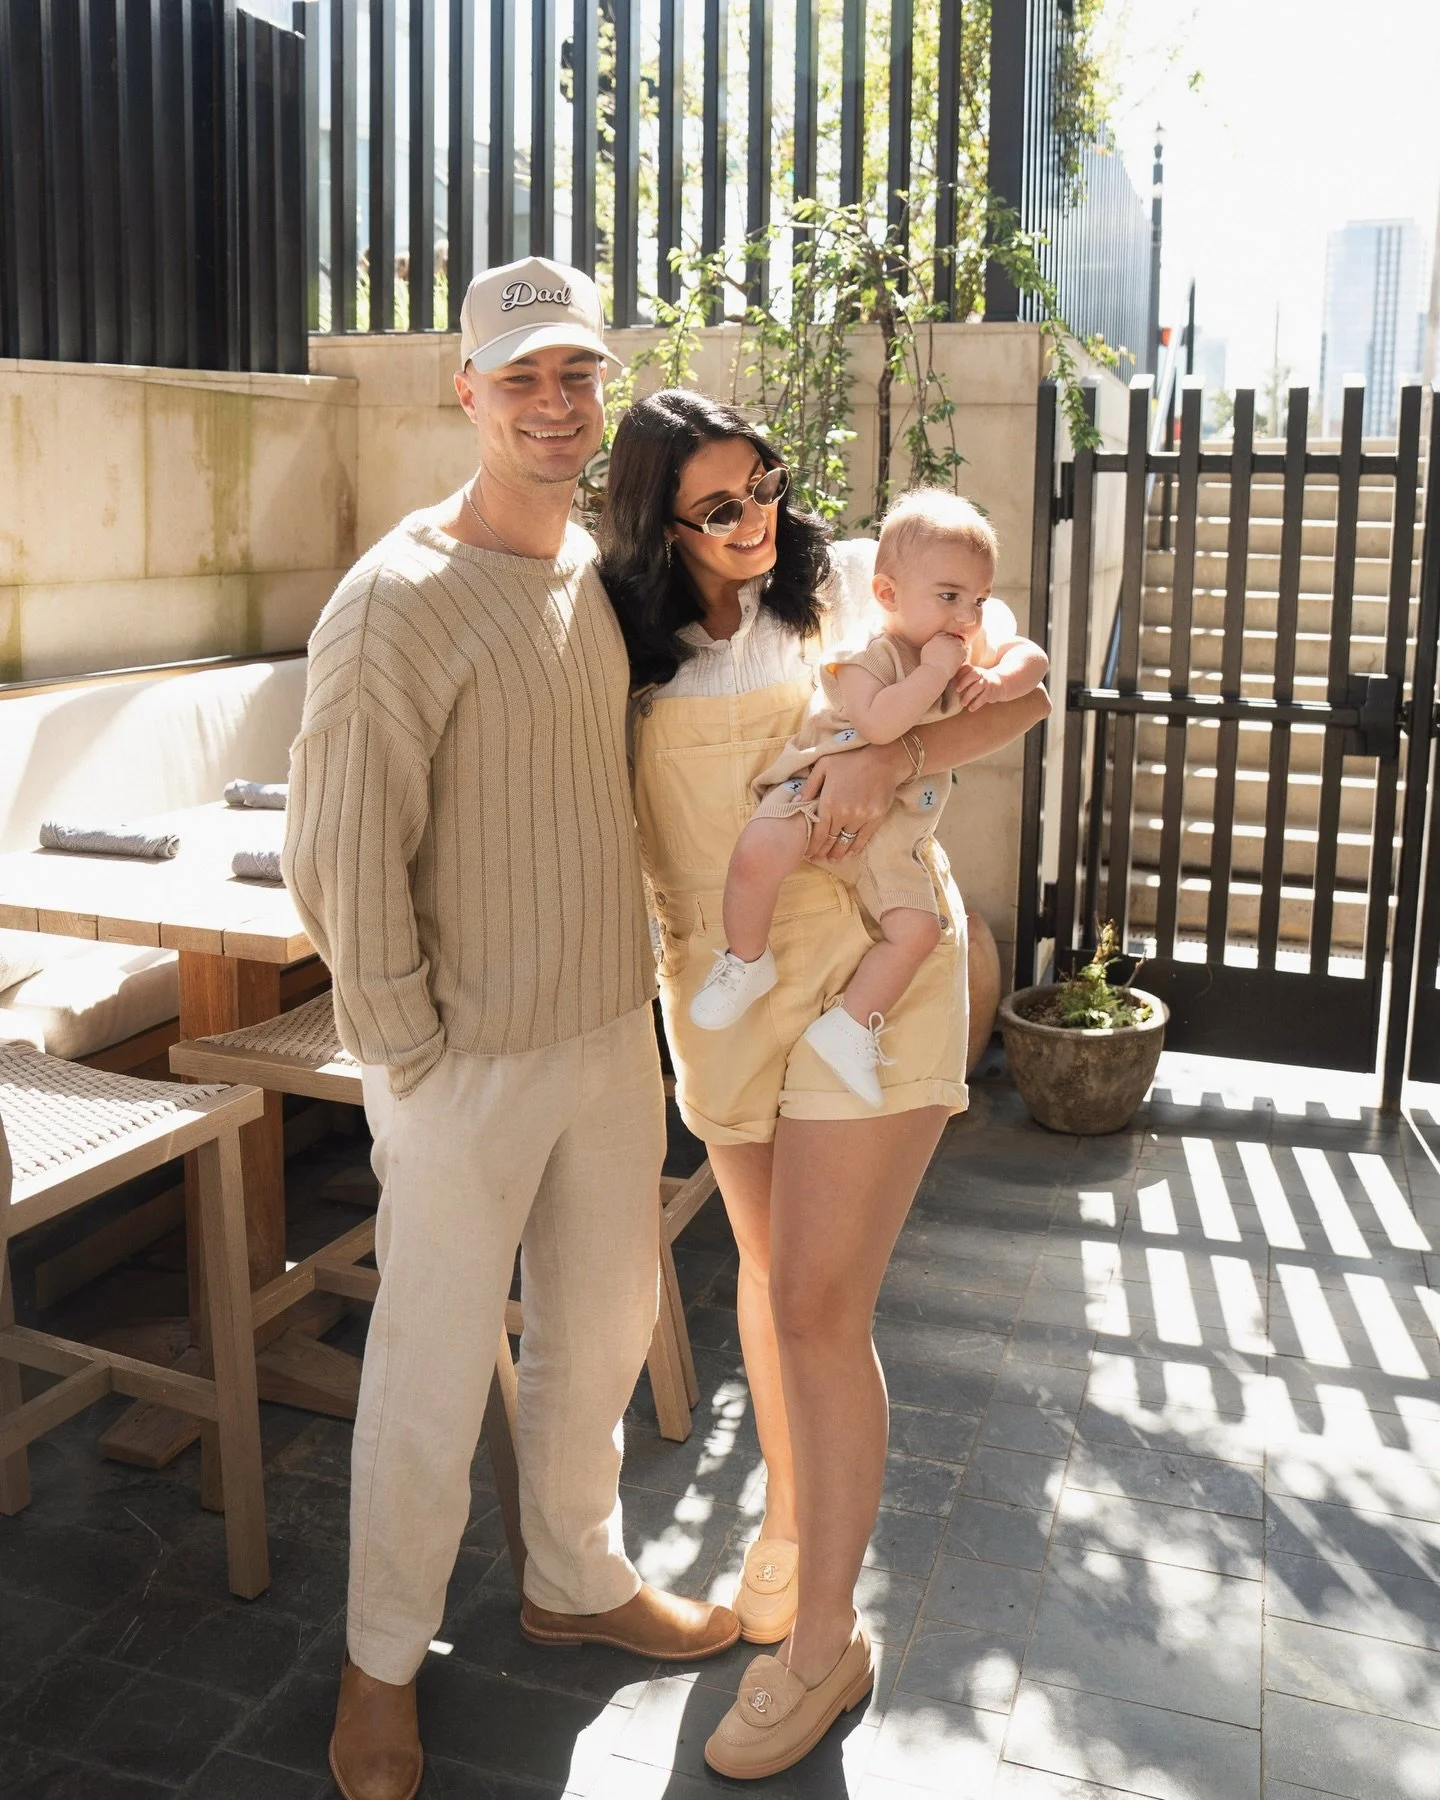
Trust me when I say that good lighting is KEY. If you want your photo to look its very best, use natural lighting. But on the flip side, avoid sunlight! This gives off extra shadows and a yellow hue in your photo that you absolutely don’t want to have. Bad lighting also makes editing the photo a lot more difficult. Try to find a place that is covered by shade or take your photo outside when it is cloudy or overcast. If you want to take a photo outside at night, make sure that you are using the right settings on your camera or phone. I personally take almost every single one of my photos during the day time because in my opinion, they turn out so much better.
FIND YOUR PERSONAL STYLE
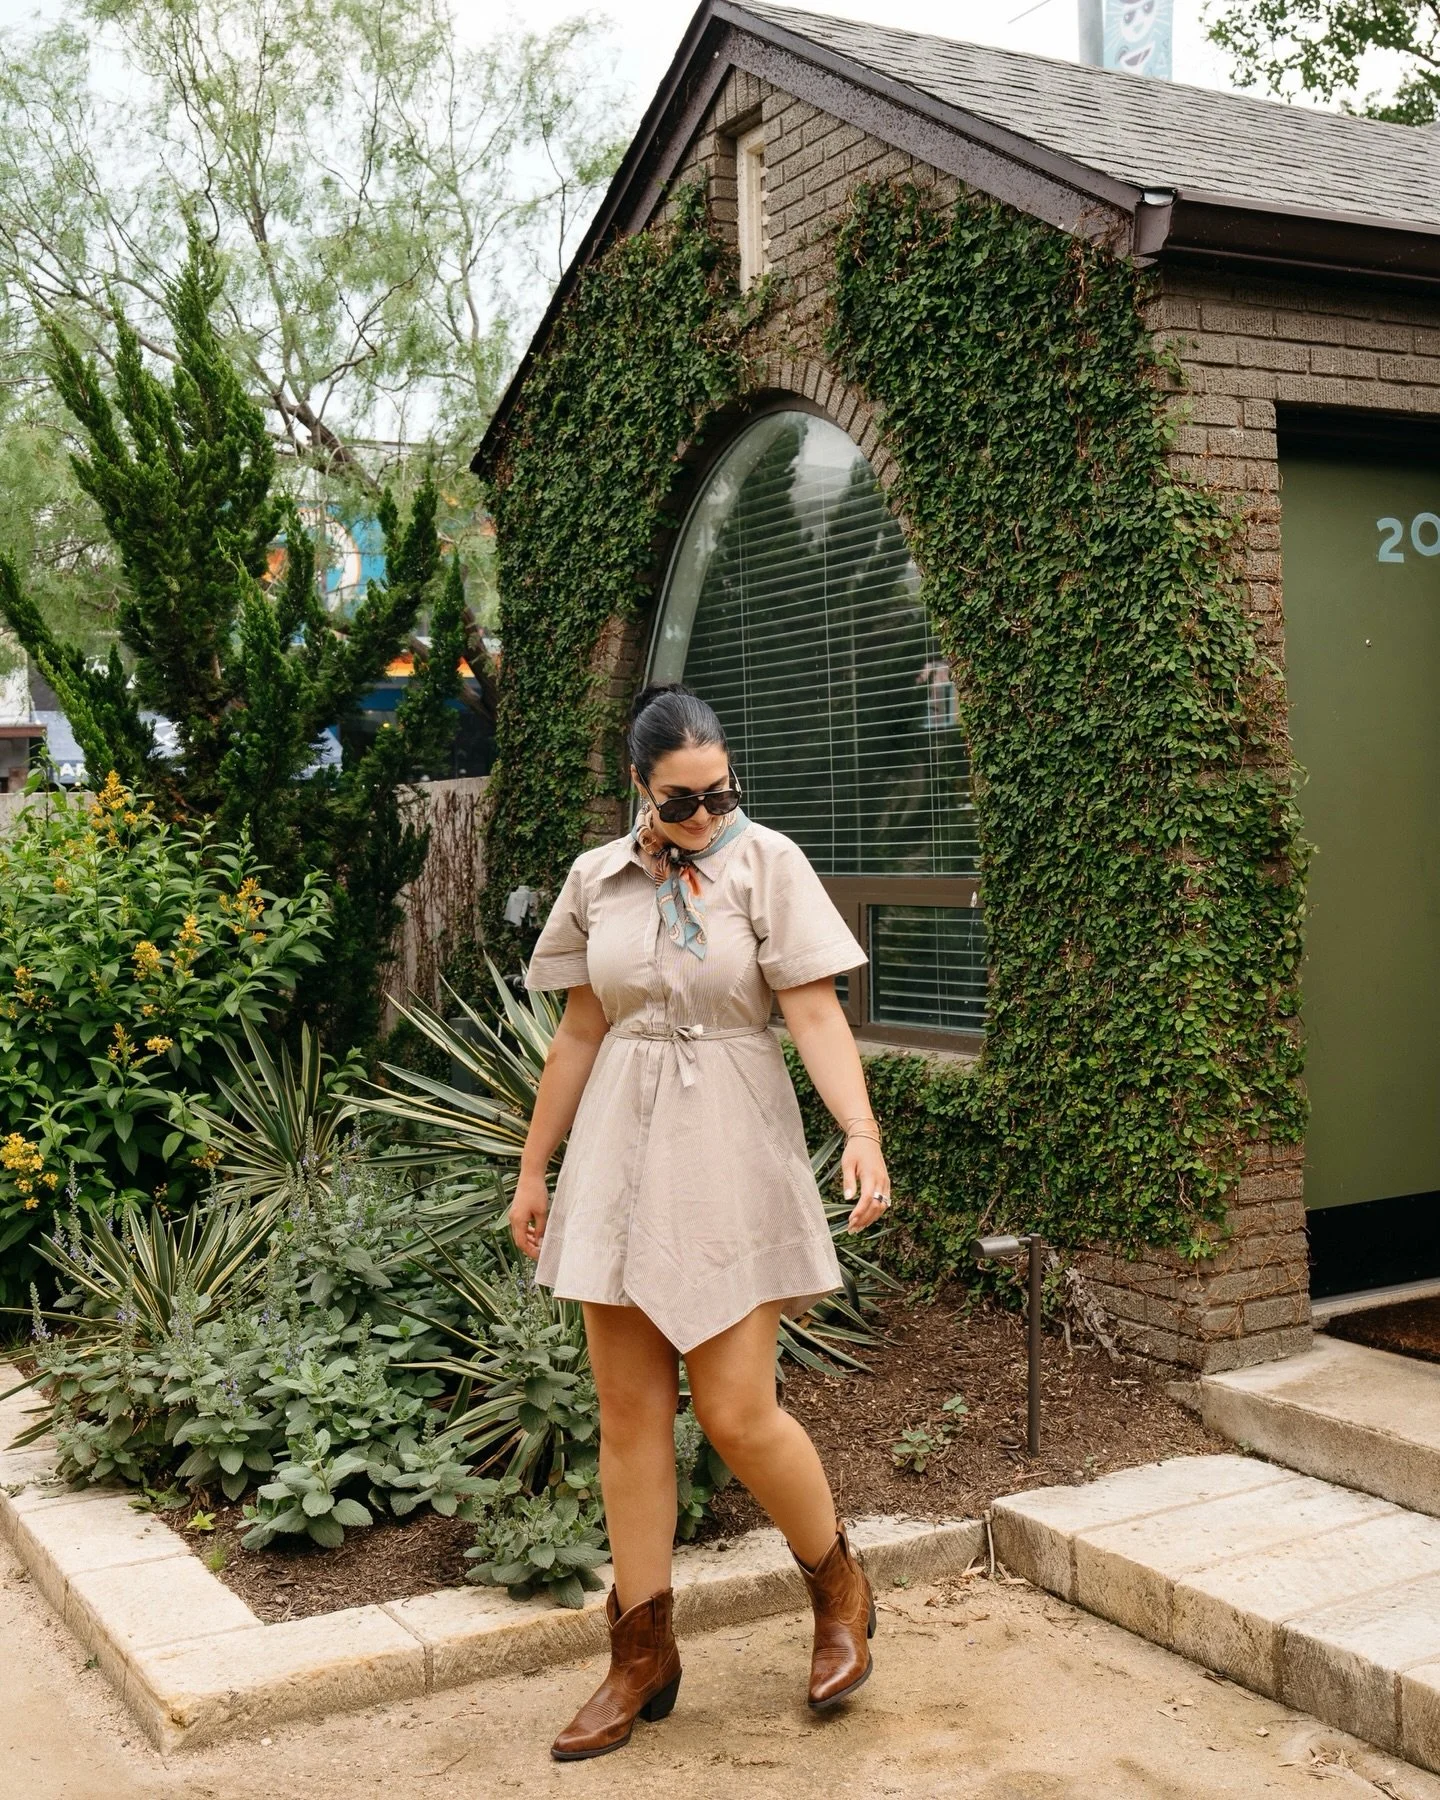
When I first started blogging, I had no clue where to begin. As my brand has evolved over time, so has my personal style and theme. I realized I really liked a natural “dreamy” looking photo edit and loved incorporating neutral colors and pops of pink. I really wanted my photos and overall brand to reflect my outgoing, bubbly personality. I encourage you to find your personal style and stay true to yourself along the way. There are so many different Instagram themes/filters/edits but in the end your brand is a representation of YOU and you should always stay true to yourself. People choose to follow you for what makes YOU different, if your an exact replica of someone else they might as well just go follow that other person (food for thought)!
BACKGROUNDS + POSING
The backgrounds you choose for your photos should go hand-in-hand with your personal style, which I previously elaborated on. For me, I find that neutral backgrounds not only edit better with my specific filter but also fit in better with my Instagram theme. When taking my photos I also try to avoid a background that’s super “busy”, meaning I like to stick to solid walls or less crowded areas. Photo’s usually turn out better when you’re the focal point and other people aren’t photobombing in the background. As for posing, try to look as natural as possible. Practice your poses and facial expressions in the mirror if needed. I know that sounds silly, but I used to do it and it really does help so much! Since I have a “lifestyle” focused blog, I try to make sure my poses reflect my everyday life and style. I strive to make them look as natural and “in the moment” as possible. I also like to change up my poses and facial expressions which makes my feed look more exciting and fun!
EDITING + FILTERS
Now for the good stuff, how I edit my Instagram photos and what filters I use. Using a consistent photo filter is the absolute key to making your instagram feed look cohesive and have an ongoing theme. There are a lot of editing apps out there, but here are a few of my personal favorites:
PHOTO EDITING APPS:
Adobe Lightroom CC
Adobe Photoshop
Afterlight
Facetune
VSCO
Snapseed
The main software that I use for photo editing is the free Adobe Lightroom CC app! I also purchased the desktop version, which is a little more involved. But I personally think the app is just as good and a lot more convenient than the desktop version. Tons of people sell their personal Lightroom filters, there are seriously so many options to choose from. The tricky part is finding a filter that looks good when applied to a variety of different photos. Since finding the perfect filter is near impossible, you will likely purchase many filters before finding the one you absolutely LOVE and stick with. I sell my Instagram Lightroom editing filters (also called presets) here. I also include step-by-step instructions and a tutorial video on how to download/install them when you purchase. I personally think my filter looks amazing on 99.9% of the photos I take, it even applies well to food & interior photos which is a bonus, hehe! You will likely have to adjust minimal settings and colors to make it look just right, depending on your hair color, skin tone, the photo lighting, etc. I apply my same presets (with only minimal adjustments) to every single one of my photos, which makes them all look very consistent once posted to my Instagram feed. It took me forever to find what worked for me, but I assure you after a little experimenting, you will find what works best for you as well.
WHO TAKES MY PHOTOS?
Who takes my photos? Well, I get asked this question quite a bit. The truth is, ANYONE and EVERYONE who is willing. Now that I know exactly how I like my backgrounds, poses and lighting to look, I am confident having whoever I’m with take my Instagram and blog photos. Let’s be real, when you have to constantly create content in order to be consistent, you can’t be picky about the photographer behind the camera. As long as you know what you like and are willing to explain that to the person taking your photos, the final product should turn out great!
BEFORE & AFTERS USING CARLYLE’S DREAMY PRESET


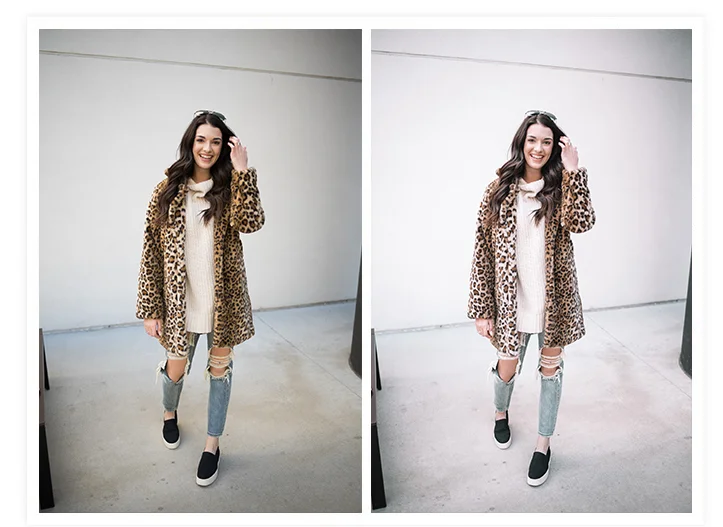
*You're welcome to save this photo to your Pinterest board for easy access!*

![static1.squarespace[1].png](https://images.squarespace-cdn.com/content/v1/59fb377612abd9c865d1ab5e/1550425997538-M9RR2C6UQ6JWM7Z4F4X6/static1.squarespace%5B1%5D.png)